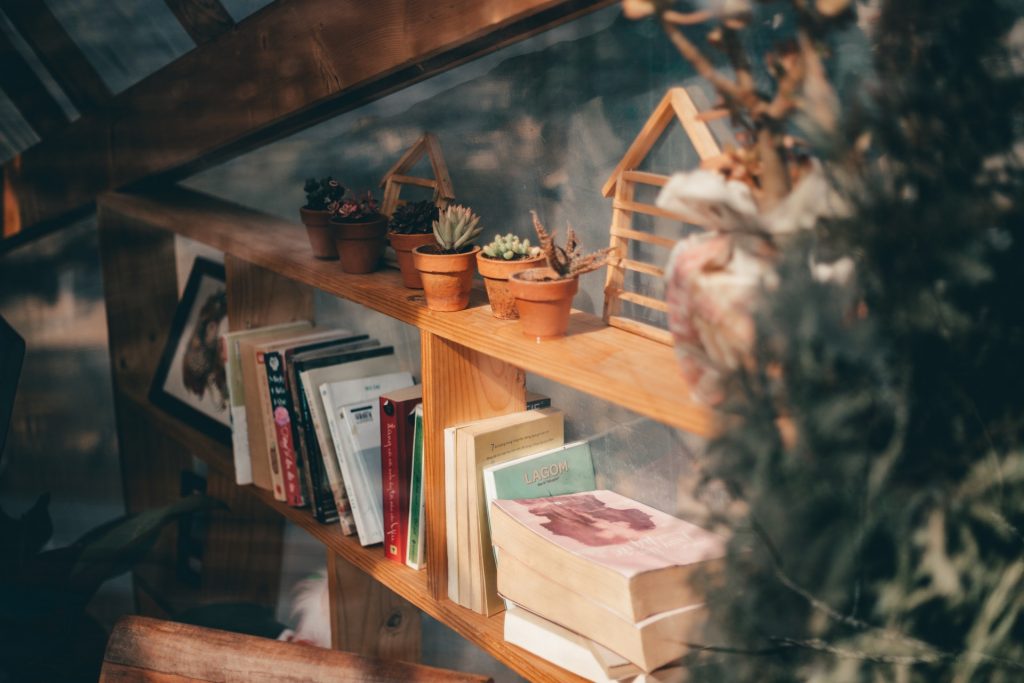
Honestly, space is a great problem in every house. But when you’ve got a perfect shelving unit, you’ll be able to ensure the proper utilization of the space inside of your house. A shelving system is an ideal solution to arrange and organize the necessary items within a limited space.
Most of the pro hunters climb the trees so that they can acquire a perfect vantage point and shot with a strategic angle. But that doesn’t mean they just climb the tree up and sit on the branches. That can be dangerous, isn’t it? An ideal hunter never risks their life during the hunting session.
Look, there are numerous options out there, you can simply buy one from there. On the other hand, you can build your own shelving unit with a little effort and some easy tactics. Frankly, it’s going to cost you less and last longer than the ready-made items. You can also decorate them in your own way.
Sounds interesting, right? So, how to build a shelf unit? Wanna know? Then concentrate on the simple steps below.
How to Build A Shelf Unit?
First of all, you’re gonna need these things: –
Small-sized corner Blocks
Clipboard screws (50mm and 60mm)
Handles
Clear varnish or wood oil
Pencil
Tape
Ruler
Cordless drill
Drill bit (8mm and 3mm)
Screwdriver
Cloth and paintbrush
Sanding discs and orbital sander
50mm casters or aluminum legs
Colors and Universal undercoat (if you want to paint it)
Cutting list
A. Take three pieces of pine or meranti planks with a measurement of 2400 x 220 x 22mm and cut into six pieces of 1200 x 220 x 22mm strips.
B. After that, take another piece of pine or meranti plank with the same measurement and cut six pieces of 372 x 220 x 22mm blocks from it.
C. It’ll be better if you also make one 1200 x 1200 x 3mm backing board, but that’s completely optional.
The Methods
Step 1
Take four of 1200 x 220 x 22 mm of (A) section and mark 40 mm space within every 400 mm and 800 mm intervals once you’ve completed that you’ll get a straight line. Now, mark 11 mm on either side of these lines. The spaces in these lines will be used to position the 22 mm shelf correctly.
Okay, have finished that? Then flip the rest wood and repeat the process on them again. One of them will make the middle partitions, and the other one will make the sides.
Step 2
Now take the cordless drill and ensure the accurate position of the corner blocks below these marks. Make sure to use the 16 mm chipboard screws for that.
Step 3
After that, take the remaining A section wood and mark 22 mm space from each end. Then locate the position where you’re going to use the upright positions. You can use the pre-cut shelves of the B section as a spacer.
Turn it on its side and mark 22mm widths from every end. After getting the positions, drill some plot holes between them by using the 3mm drill bit.
Step 4
To countersink these holes for the screws, use an 8 mm drill bit. Don’t worry; they will be filled by using the wood fillers later. You can use a countersink bit and use it for the holes.
Step 5
The markings will guide you to figure out the correct position. So, follow them and fix the middle partitions with 50 mm chipboard screws.
Step 6
It’s time to place the 372 x 220 x 22 mm shelves. Take them and position them on the corner blocks. It usually depends on the thickness of the wood, but according to our measurement, we’ve selected 2mm wood into the blocks. If you find the fittings are too tight, you can trim them a little for a perfect fit.
Step 7
Secure the shelves by using the 16 mm chipboard screws under them. Make sure that they remain sturdily in their position.
Step 8
To fix the casters under the shelving unit, use 16 mm chipboard screws again. Check them properly because it’s going to hold the entire base. After doing that, attach the casters with them.
Step 9
Your shelving unit is quite ready. You can equip a handle for the ease of movement. For that, take a handle according to your choice and drill 5 mm holes on the side of your shelf. Then fasten the handle with a screwdriver in your preferred position. It’ll be better if you equip handles on both sides.
Step 10
Finally, it’s time to fill all the holes and blemishes. Use one of the premium wood fillers and then sand the place for a smooth finish. There will be several sharp corners round them up when you sand.
Step 11
Your shelving unit is ready. If you wish to give it a perfect look and color it in your own way, make sure to use the universal undercoat on the wood before applying color to it.
Final Words
Your DIY shelving unit is ready. You can style it to your heart’s desire and make it blend with other decorative items around your room. This shelf will be as sturdy as needed, and you can store a bunch of things on it.
Think of a messy garage you’ve right now; things are placed on the floor where you can hardly find what’s needed at the right moment.
Whatever, hope the above guide will be helpful for you, and you won’t have to ask how to build a shelf unit again. If you got any questions, feel free to ask them through our comment section.