Dark grout can add a sleek, polished look to your tiles, but over time, it can develop an unsightly white residue. This whitening of dark grout, often caused by efflorescence, can detract from the appearance of your flooring or wall tiles. If you’ve noticed this issue and are wondering how to clean dark grout that has turned white, you’ve come to the right place. In this guide, we’ll explore the causes of this problem and provide effective solutions to restore your grout to its original color.
Understanding Why Dark Grout Turns White
Dark grout turning white is usually caused by efflorescence, which is the result of salts or minerals rising to the surface of the grout. When water permeates the grout, it dissolves salts within the material. As the water evaporates, it leaves behind a white, powdery residue on the surface. This can happen for several reasons, including:
- Improper Sealing: If grout is not sealed correctly, it becomes more porous, allowing water and salts to pass through.
- Excessive Moisture: High levels of moisture in the surrounding environment can lead to efflorescence, especially in areas like bathrooms or kitchens.
- Use of Hard Water: Hard water, which contains a high concentration of minerals, can also contribute to the problem.
Efflorescence is the most common reason dark grout turns white, but it can also occur due to overuse of harsh cleaning agents or a buildup of soap scum.
For a deeper understanding of efflorescence, you can explore Wikipedia’s article on Efflorescence.
How to Clean Dark Grout That Has Turned White: Step-by-Step Solutions
1. Initial Cleaning with Vinegar
Vinegar is a natural and effective cleaner for many household issues, including efflorescence on grout.
- Step 1: Start by cleaning the surface of the tile to remove any loose dirt or debris.
- Step 2: In a spray bottle, mix equal parts of white vinegar and water. If desired, you can add a small amount of dish soap for additional cleaning power.
- Step 3: Spray the solution directly onto the affected grout areas.
- Step 4: Allow the solution to sit for 5-10 minutes to break down the white residue.
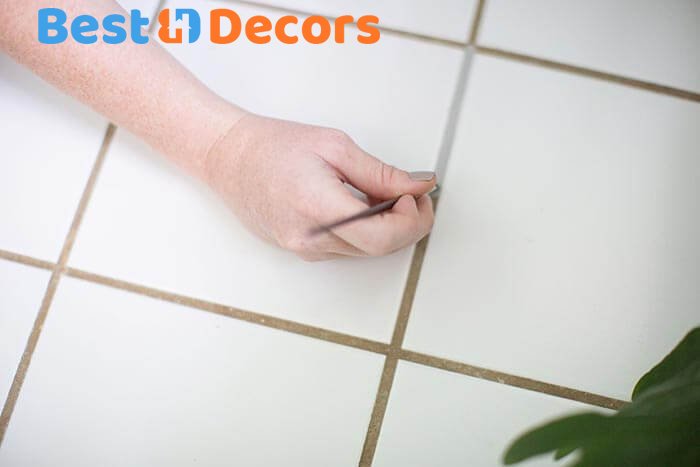
- Step 5: Use a stiff-bristled brush to scrub the grout, focusing on the areas with white residue.
- Step 6: Wipe away the excess liquid with a clean, damp cloth, and then dry the area thoroughly.
Note: Vinegar can be too harsh for some types of natural stone tiles, so it’s essential to test it on an inconspicuous area first.
2. Using Hydrogen Peroxide and Baking Soda for Stubborn Stains
For more persistent white residue, a mixture of hydrogen peroxide and baking soda can be highly effective.
- Step 1: Prepare a paste by mixing hydrogen peroxide and baking soda in a small bowl. The paste should have a thick consistency.
- Step 2: Apply the paste directly onto the grout using your fingers or a small brush, such as an old toothbrush.
- Step 3: Let the paste sit on the grout for about 10-15 minutes to allow it to penetrate and lift the white residue.
- Step 4: Scrub the grout with the brush in circular motions, applying moderate pressure to remove the stain.
- Step 5: Rinse the area with warm water and wipe it down with a damp cloth to remove any remaining paste.
- Step 6: Dry the grout completely with a towel to prevent any moisture from being trapped.
This method not only cleans the grout but also helps disinfect it, making it a good option for areas prone to mold and mildew.
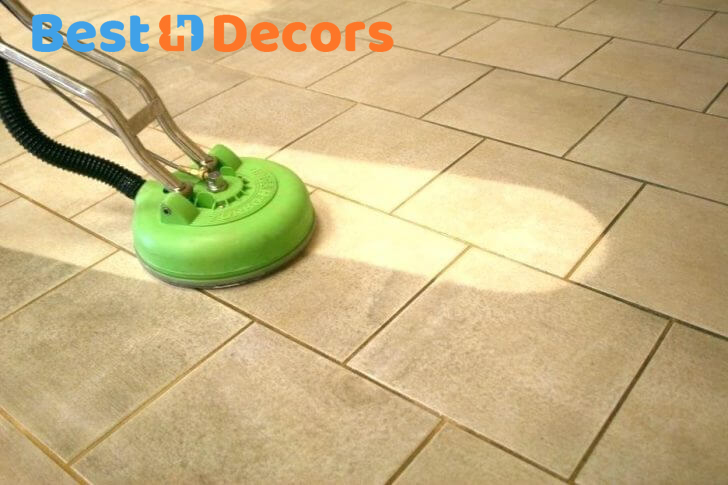
3. Preventing Future Efflorescence
Once you’ve cleaned the grout, it’s essential to take steps to prevent the white residue from returning.
- Seal the Grout: Apply a high-quality grout sealer to protect the grout from moisture and reduce the risk of efflorescence. Be sure to follow the manufacturer’s instructions for the best results.
- Control Moisture Levels: Ensure that areas with grout are well-ventilated, especially in bathrooms and kitchens. Using a dehumidifier can also help control moisture levels.
- Regular Maintenance: Clean the grout regularly with a pH-neutral cleaner to prevent the buildup of salts and other residues. Avoid using harsh chemicals that can damage the grout.
For more tips on maintaining your home’s appearance, you might find our guide on the best non-stick copper cookware useful, especially if you’re dealing with kitchen maintenance.
FAQ Section
1. What causes dark grout to turn white?
Dark grout turns white primarily due to efflorescence, which occurs when water penetrates the grout and brings salts to the surface as it evaporates. This can also be caused by improper sealing, excessive moisture, or hard water.
2. Can I use bleach to clean white residue from grout?
While bleach can be used to clean grout, it is not recommended for removing efflorescence. Bleach can damage the grout and potentially worsen the problem. Vinegar or a hydrogen peroxide and baking soda mixture are safer alternatives.
3. How often should I seal my grout to prevent efflorescence?
It’s recommended to seal your grout every one to two years, depending on the level of wear and tear it experiences. High-traffic areas or wet areas like showers may require more frequent sealing.
4. Is efflorescence harmful to my grout or tiles?
Efflorescence is primarily an aesthetic issue and does not typically damage the grout or tiles. However, if left untreated, it can lead to moisture problems and potential mold growth.
5. Can I prevent efflorescence from occurring in the first place?
Yes, you can reduce the risk of efflorescence by properly sealing your grout, controlling moisture levels, and using soft or distilled water for cleaning. Regular maintenance with appropriate cleaners also helps.
Conclusion
Efflorescence and white residue on dark grout can be a frustrating issue, but with the right techniques, you can restore your grout to its original dark hue. Whether you choose to clean with vinegar, hydrogen peroxide and baking soda, or a combination of methods, the key is to act promptly and maintain your grout regularly. By sealing your grout and controlling moisture levels, you can prevent future issues and keep your tile work looking pristine.
Remember, maintaining your grout not only enhances the appearance of your tiles but also extends their lifespan. Regular cleaning, proper sealing, and moisture management are essential steps in keeping your grout looking its best.